Trees, trees & more trees
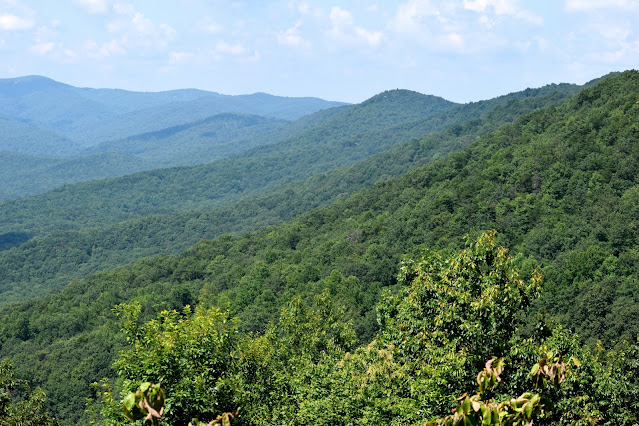
A downfall of modeling the Appalachian mountain regions is that they are densely covered in deciduous trees. So my layout requires large numbers of trees to fill the mountainsides.
I've tried several methods of making trees over the years, but I've settled onto the following methods as they are fairly easy and produce good results. I use products from Woodland Scenic to make the trees on the layout. These methods are certainly not the most economical methods as I use all commercial products, but they are not prohibitively expensive.
For larger trees I use their tree armatures for deciduous trees in the 3 – 5” range. These come molded in a brown plastic. First I bend the flat armatures into a more rounded shape. Next I spray paint the armatures with Liquitex spray paint in a Burnt Umber. This gives the armature a dark brown flat finish. Then I dry brush on a light gray paint, such as Delta Creamcoat Quaker Grey, to highlight the bark. Not too much, just a bit.
When the paint is dry, I coat the tips of the branches with Woodland Scenic's Hob-e-Tac adhesive. I wait until it partially dries and then it is time to add foliage.
I use Woodland Scenic's foliage in light, medium, and dark green to cover the trees. This product is a sheet of the companies “Poly Fiber” material that is impregnated with fine turf material. It's fibrous nature allows it to be stretched and teased into a lacy canopy across a tree armature.
I tend to apply it on a bit thicker than some of Woodland Scenic's tutorials, but I like to look. I've also used a similar process to make trees but with "Poly Fiber" and then apply fine turf and affix with hair spray. I think using the foliage is easier and produces a better result, at least in my hands.
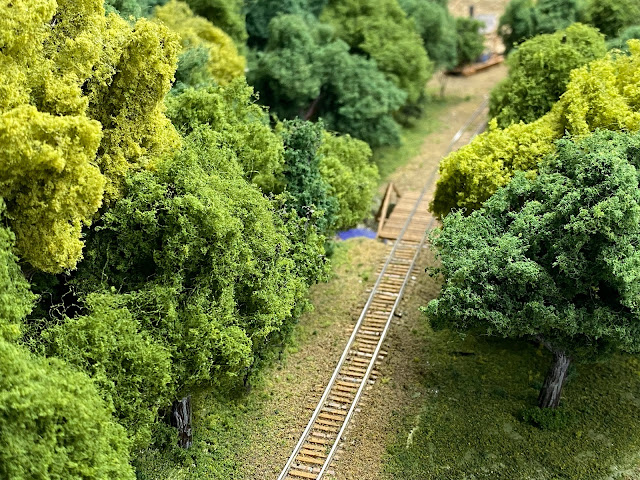
This hillside is covered with trees made as described above, but there are a few smaller trees intermixed in that were made as described below.
For smaller trees I use Woodland Scenic's “Fine Leaf Foliage”. This is a natural product with a fine branch structure and foliage applied.
I use the companies' light, medium, and dark fine leaf foliage to help populate my forests between and around the larger trees. Just pick through the material and pick out appropriately size trees. Trim as necessary to fit the area.
For both trees I use a small awl to poke a hole into the scenery. Invariably the awl spills some plaster dust or Styrofoam bits onto the surrounding scenery, so the next order of business is to clean that up. I find wetting the end of my finger tip sufficient to pickup the offending particles. I then apply a PVA glue (white glue, wood glue, etc..) to the base of the tree and then poke it into the hole. Sometimes it is necessary to support the tree in a vertical position until the glue dries. I have used hot glue previously to plant trees and it dries faster. It works well except for the “strings” of hot glue that have to be cut off and disposed of.
Below are some more pictures of the forests on my layout.
Until next time, Happy Model Railroading.


